I finally finished my felted spinning wheel bag project and I ended up with a nice assortment of little felted bags. I think that they came out really cute and it is handy that my wheel has a convenient place to hang this little bag.I've got a WPI tool, diz, spinner's control card, oil, and a little pair of pliers stored in my bag. I know that all wheels aren't equipped with some place to hang this bag - but it is perfect for my folding Lendrum.
I made these bags in several types of wool to test out the pattern and to see how different wools would work with my pattern.I think that in the end all the bags turned out great and I don't see a huge advantage to one wool over the other. There was a huge difference in the rate at which the wools felted though. That is something you will want to be mindful of when felting.You need to be sure of the felting rate for the wool you pick or check the results often.
 I put all the bags into the washer together and ran the agitator cycle three times and then checked the contents. I probably should have jumped in for a look after each round of agitation. This photo shows the results after those three rounds and you can see that all the bags but the ones knit from Kureyon (top 3) are basically finished. I was actually afraid that two of them had gotten a little small. But I gave them a little tug to stretch them a bit and they fit on my wheel perfectly.
I continued the wash the little bags made from Kureyon for another 3-4 agitation cycles before they were felted like I wanted.I did learn that if I was combining wools into the same project for felting that I would probably leave the Kureyon out. It always takes forever to felt.
I also notice a difference in the thickness of the final fabric. The Kureyon is slightly thinner than all the other choices. All of the other wools ended up being thicker overall and much closer in to each other than the Kureyon did.Although it really didn't matter for this project, I could see it making a difference in other projects. Although I could probably run the Kureyon through the washer a few more times and tighten the fabric up a bit, but it will serve the purpose here.
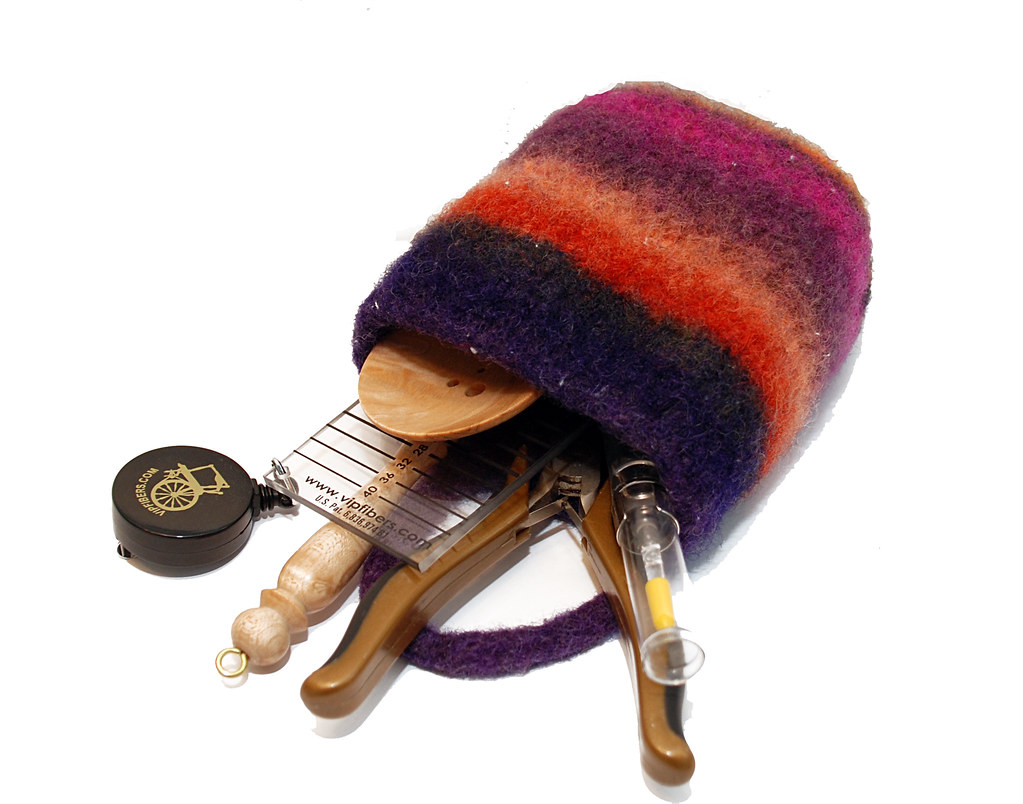 I think it basically comes down to personal preference. This project is also great for leftovers and scraps. All the bags I knitted are from leftovers from other projects and the Kureyon bags each are made up of multiple colors.
Well without further rambling here is the simple pattern. Let me know if you see errors and I'll make corrections.
 Felted Spinning Wheel Bag
Yarn: About 70 yards of worsted weight wool suitable for felting.
I have tried the pattern with Noro Kureyon, Cascade 220, Pattons Classic Merino, Lambs Pride Worsted, and Wollmeise Merino-Lammdochtwolle. All will work well. Make sure you know the rate of felting for the wool you choose.
Needles: US #11 (8mm). I used two circular needles, but DPNs would work just as well
Supplies: stitch marker; 2 stitch holders; tapestry needle for weaving in the ends
Measurements: I didn't measure my gauge, I usually don't when felting. I've provided measurements both before and after felting fora guide.
Pre-felting Measurements: bag bottom - 4.5 x 3.5 inches; 6.5 inches tall
Final Measurements:
Instructions:
Cast on 14 stitches and knit 20 rows. Pickup up 10 stitches along the first short side of the rectangle, pick up 14 stitches on the long side and then pick up another 10 stitches on the remaining side. (48 total stitches)
Distribute stitches even between two circular needles and mark beginning of the round. Knit in stockinette stitch until side of bag measures 6.5 inches tall.
Move first 3 stitched to a stitch holder and then cast off 8 stitches. Move next three stitches to second stitch holder and continue binding off until 1 stitch remains of the right needle. Move the 2 stitches from the first holder to the left needle and bind off one more stitch. Knit the 2 stitches that are still on the left needles.
You will have 3 live stitches on the right needle. Using these 3 stitches, knit 8 inches of i-cord.
After i-cord is knit, stitch the bottom of the i-cord together with the 3 remaining stitches on the last holder. I break my yarn and thread a tapestry needle for this part of the project. I run the threaded needle through the first stitch on the handle and then the first stitch on the bag and alternate like that until all the stitches have been threaded.
Weave in the tails and felt!
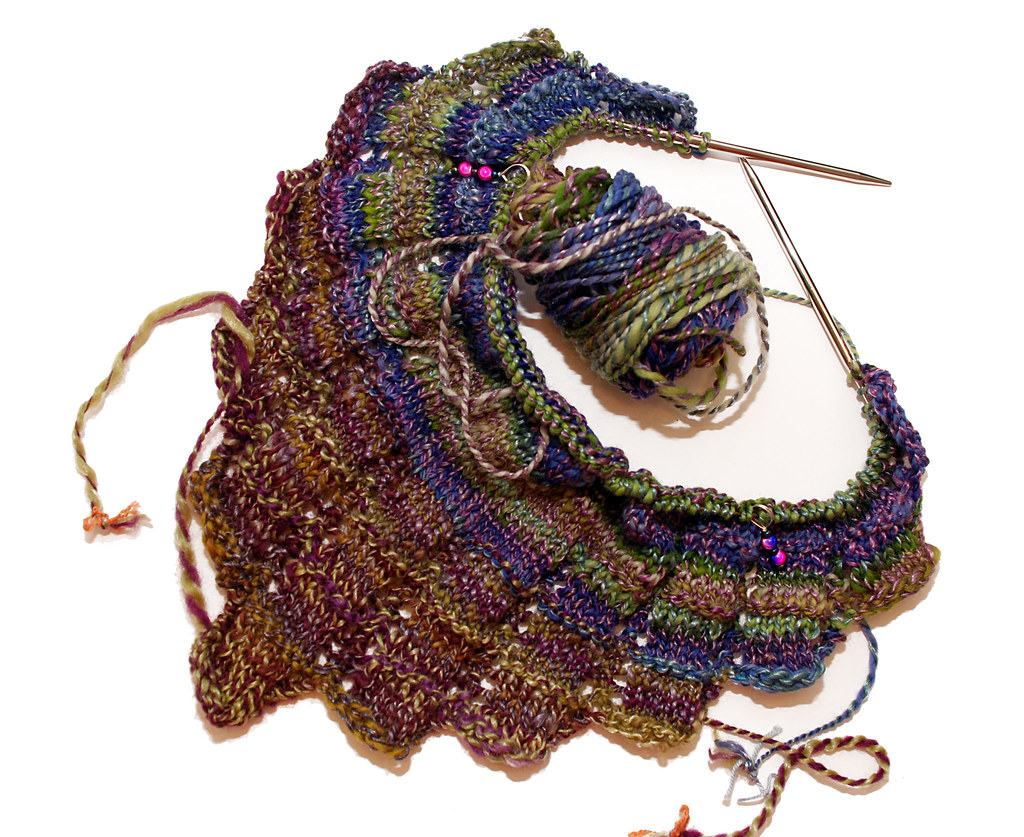
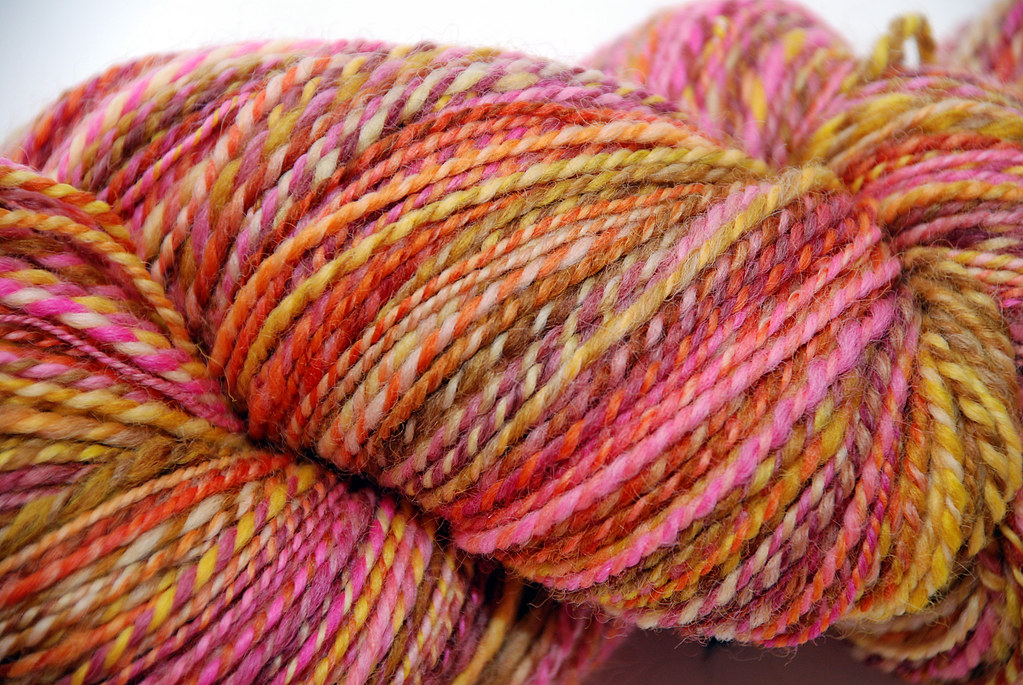
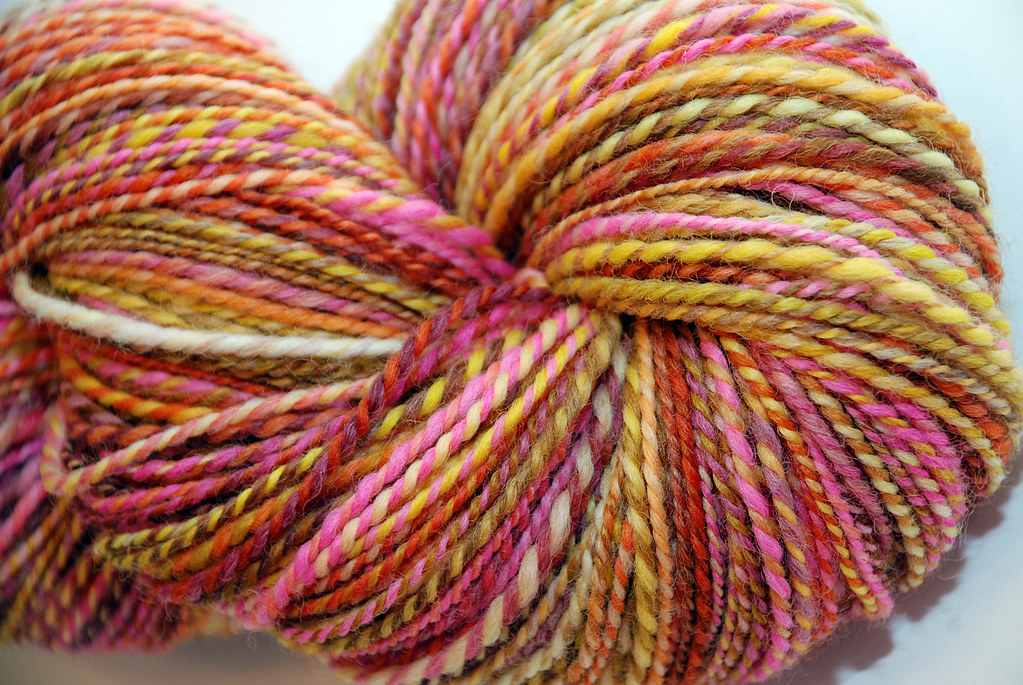
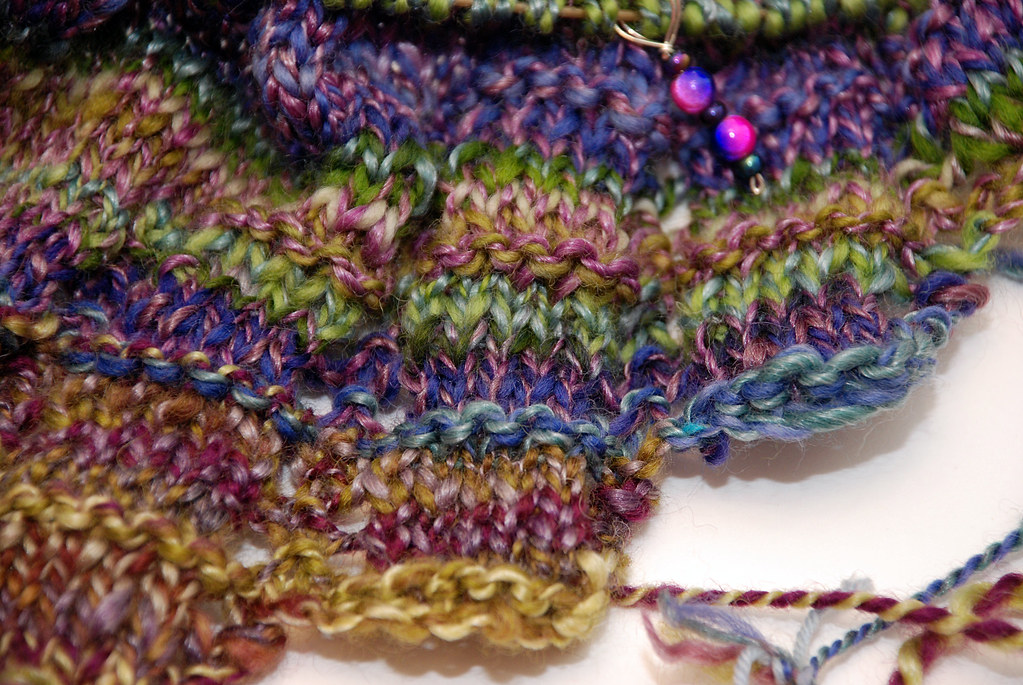 The pattern is working up quickly and I like how it is turning out so far. It is find of fun to have all these different coordinating skeins to use on one project. It is fun to see how different each skein is actually knitting up. I'm currently into the second of twelve different skeins. I did try to decide on an order for the different skeins so that the colors are distributed throughout the shawl as evenly as possible.
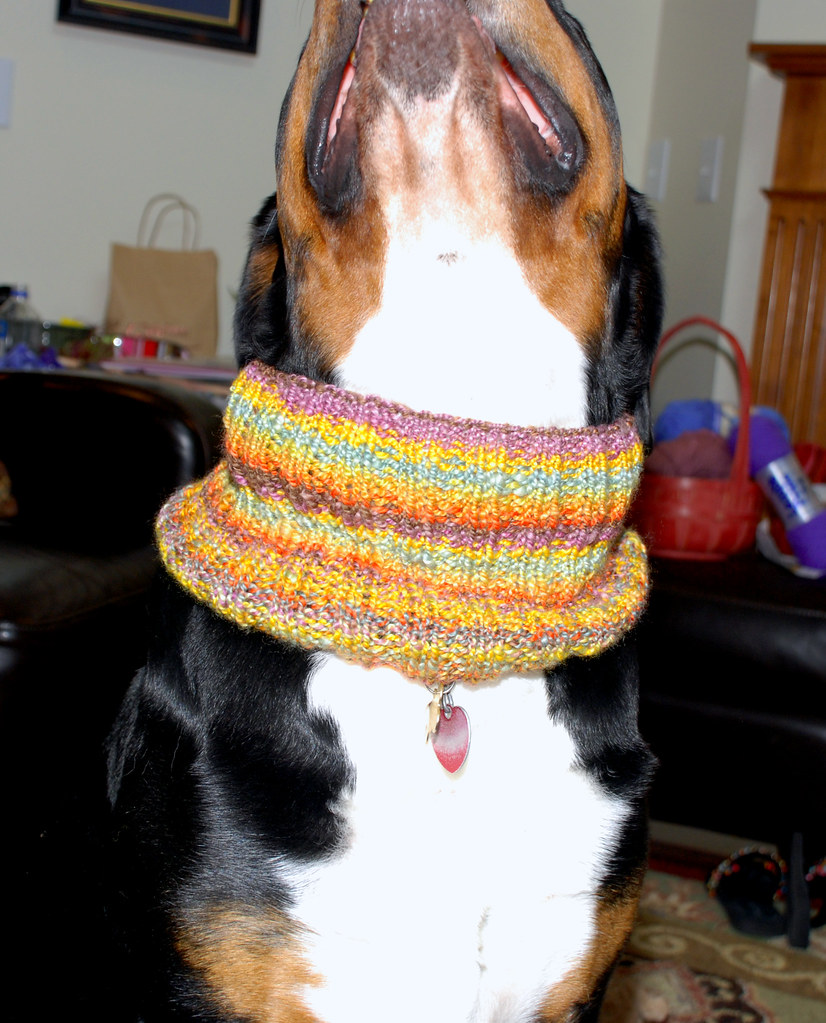
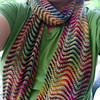
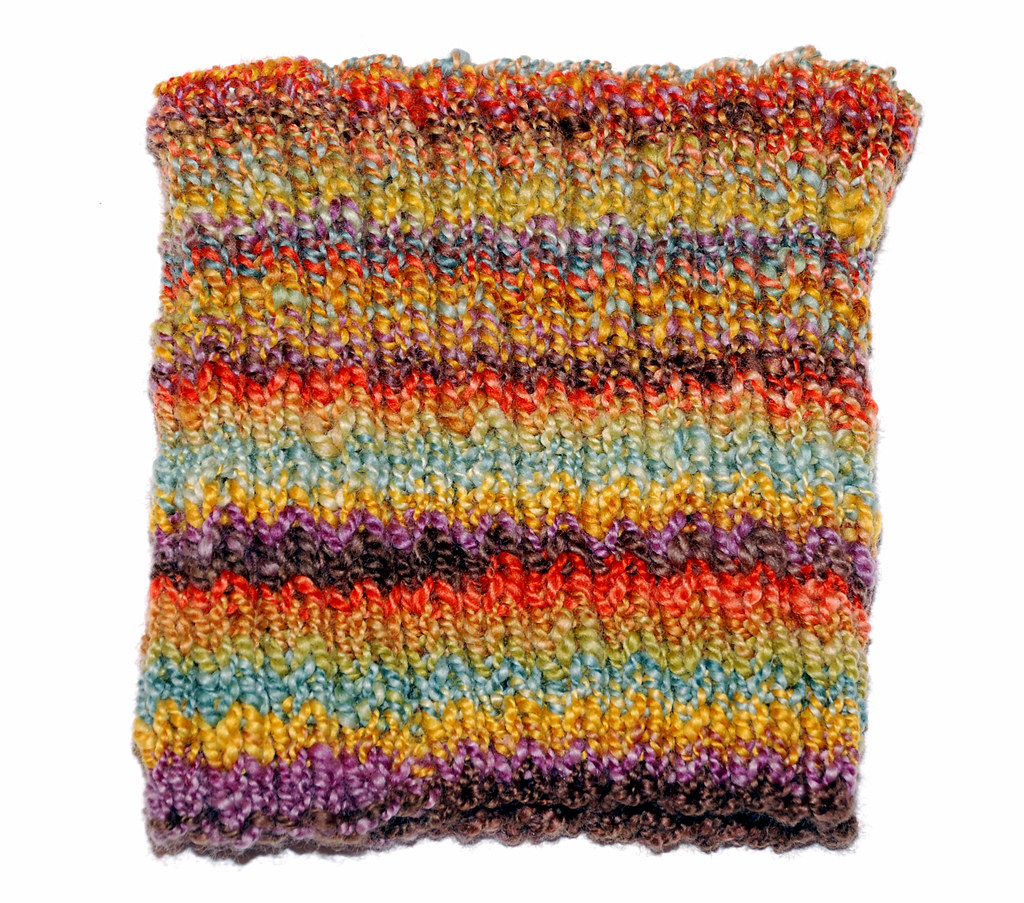 This seemed to work well and until I was about half way through the plying, I was getting really excited about the results. That is about the time that the colors started to get off track. I was really curious on how this would all knit up and you can see what I'm talking about in the finished piece. You can see along the bottom half of the cowl the nice solid colored stripes.The top half still stripes, the colors just aren't solid. I actually like both halves and don't mind the mix in this cowl, bu tit would be nice to able to control the results a little more.
 I'm guessing the colors got off track for a couple of reasons. The first being that my spinning is not perfectly even so even if I had exactly even amounts in both threads there would be some difference and the second - I'm guessing that there were different amounts of the individual colors in each ply. I figure I have a few options for this in the future. I could learn chain plying and really guarantee the colors stay together or I could become a more consistent spinner and try a few new ideas on splitting the fiber more evenly or I could just not worry about it and enjoy things as they turn out.