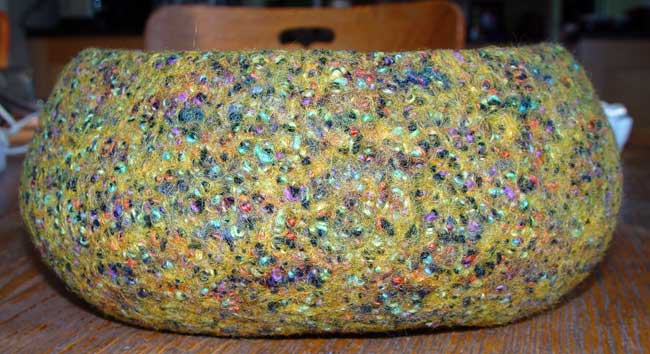
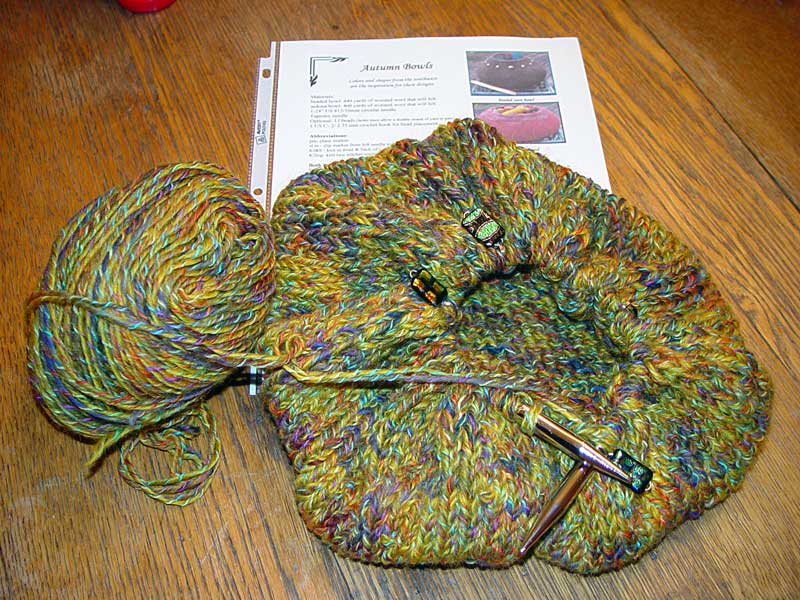
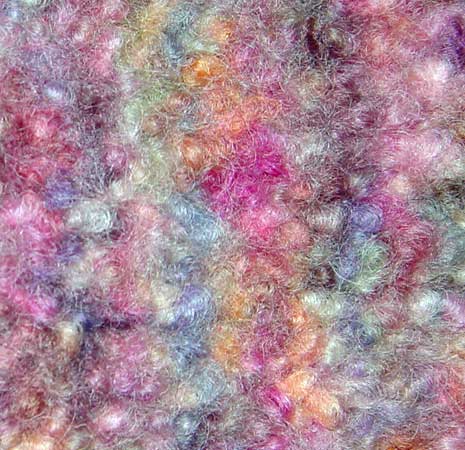
 The most recent bowl is finished and this is by far the most unusual texture I've ended up with in a felted object. It is definitely my favorite at the moment. I still have six skeins of this yarn and I'll be making some kind of felted bag with it; I might have to drop by the LYS and see if they have any more. The yarn I used was Tahki Yarns-Shannon; color 16. I know at one point that the LYS had this in a turquoise color too. Hopefully they still have some on the shelves.
Bowl measurements (after felting)
Height: 4 inches
Circumference: 29.5 inches
Width: 9 inches
Opening: 7 inches
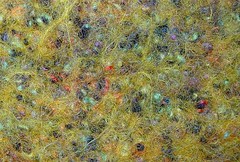
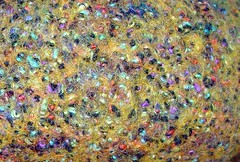
These two little thumbnails show the detail of the texture before and after the attack of the fabric shaver. It really had a big effect on the finished project. I would definitely felt with this yarn again, it wasn't cheap, comparable in price to Noro Kureyon. It did felt a lot quicker for me than the Noro does and that is a big bonus.
And speaking of fabric shavers - my trusty little fabric shaver conked out on me during my previous felting project. So I had to get a new one. I'm not sure what everyone else uses for felting projects. I'm sure some don't defuzz at all. I just don't like the fuzzy texture. I've never tried a sweater stone, so I can't comment on how effect that method is. I did try a razor and found that it took way to long and I was always afraid that the blade would cut through something. So I've stuck with the fabric shaver.
 This is a picture of the three fabric shavers that are currently residing in my knitting gear. The little red one is the one that gave out - the motor is dead. I had to change the batteries (2 AA) in it for each project and the lint had to be emptied often. It lasted about a year and really worked pretty well for that time. I bought it at Bed, Bath, and Bankruptcy and it was about $10 dollars. (It did come with a lint roller.) The little blue and white one was purchased at Wally World and was in the $5 dollar range. It was a complete waste of money. It hardly takes any fuzz off at all. The large one is the new one. It takes twice as many batteries as the other two (4 AA), but it also came with an adapter and can be plugged into the wall. The surface area of the shaver head is about twice as large too. This one was just over $20 dollars (including shipping). I bought it online from a sewing supply company. Hopefully it will last. I've got several felting projects in the cue, so it will be getting a thorough work out.
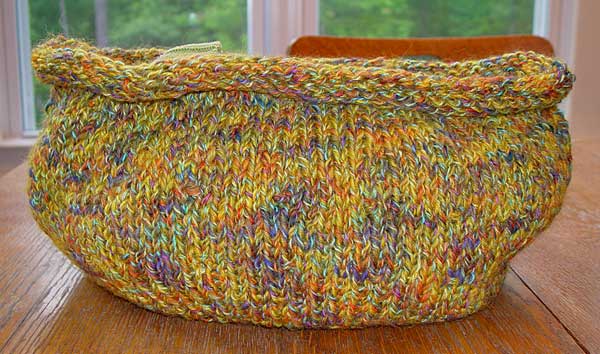 I had to stuff this bowl with a sweater to get it to stand up for a picture. The bowl is currently about 18 inches wide and 11 inches tall. I finished it off with an i-cord bindoff. Stay tuned to see how it turns out.

 This variety is from Japan, but there are other varieties that can be found in the woods of North America. The American Indians used them medicinally to treat rheumatism and bronchitis and to induce sterility. Externally it was used as a treatment for snakebite. The plant was also used for food (probably where the turnip name comes from) - but the plant can be toxic. So I wouldn't recommend trying that out.
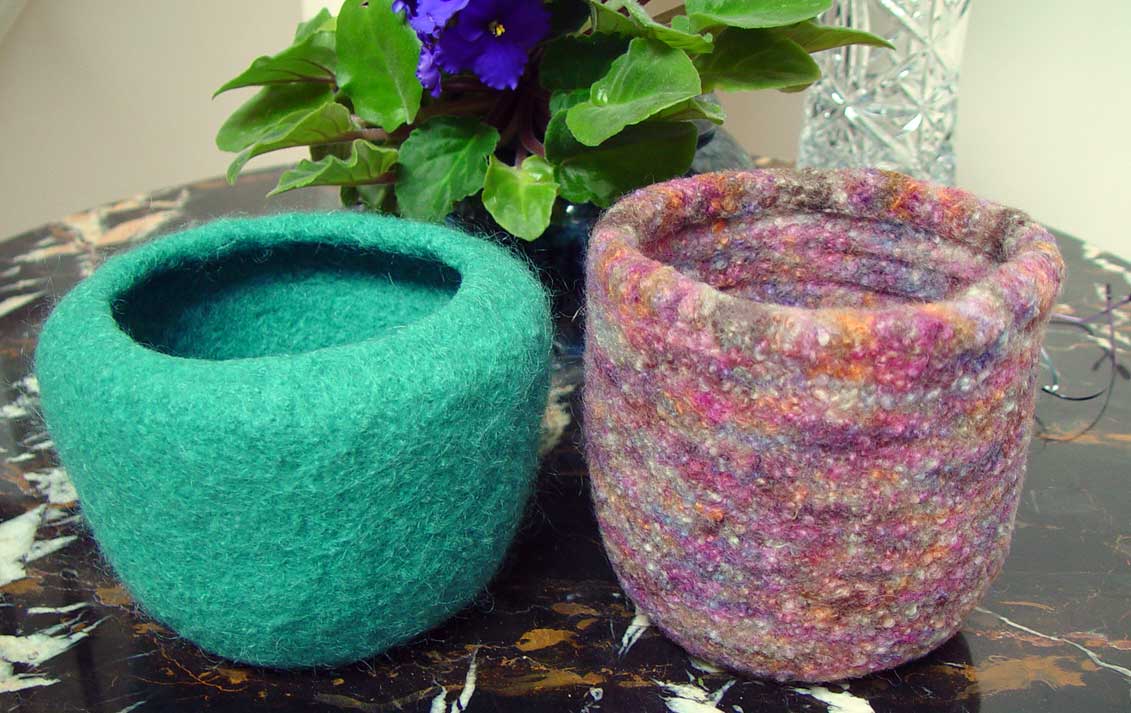
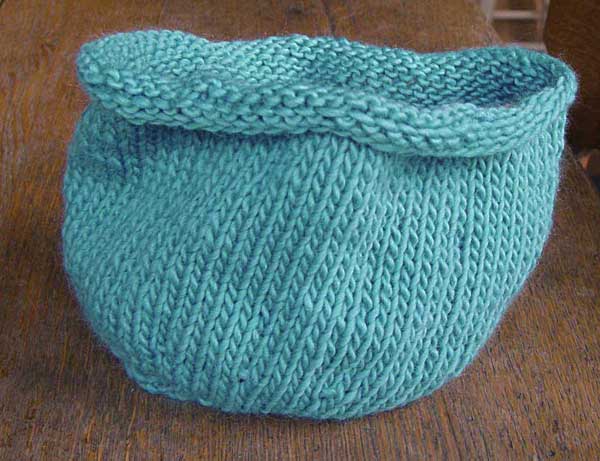 This first bowl I made is out of one skein of Lambs Pride Bulky in peacock. The pattern I used was the Large Bowl pattern from the Holiday Trio leaflet by
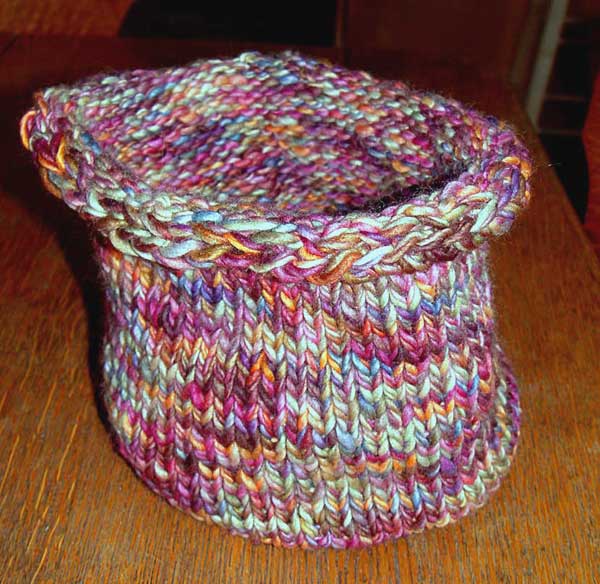
 Bearded iris grow from rhizomes - kind of a potato looking thing. The rhizomes are what multiple resulting in the iris spreading. They grow quickly - this means they are a great plant to share with friends that garden. You do have to divide iris when they become crowded or they will quit blooming. They also like a lot of sun and are very drought tolerant. Planting should be close to the surface no more than 1 inch below the soil. Sometimes you can actually see the top of the rhizome above the surface. If planted too deep, iris may not flower and will be more prone to rot.
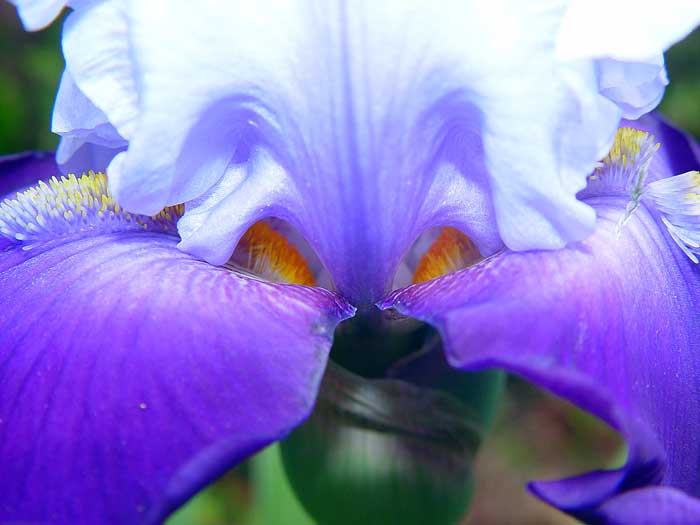
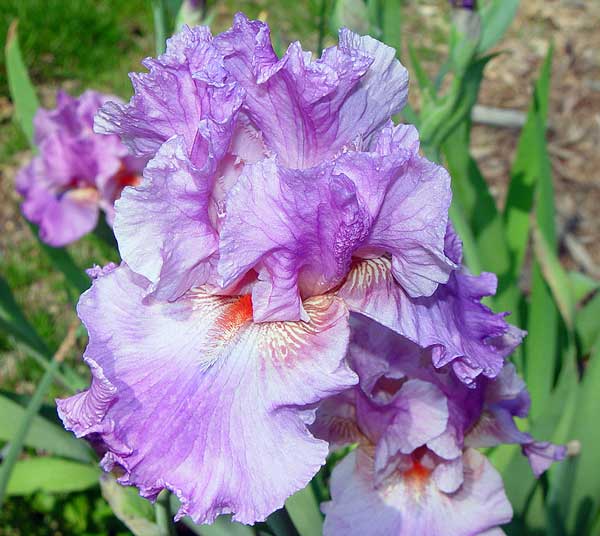
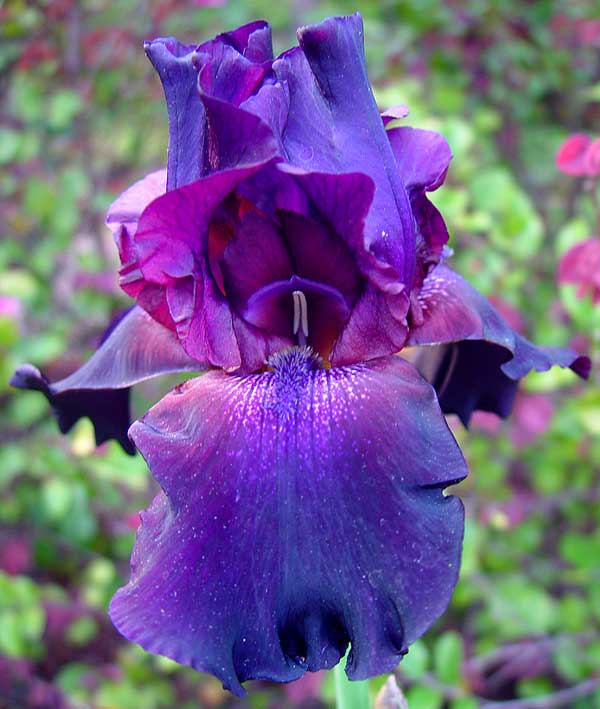 The picture above really shows the reproductive parts of an iris flower. The main part of the flower that stands up is called the standard and the petals that arch down are called falls. The little spike in the center is called the anther and is what carries the pollen for the plant. The little arch way that the anthers sit under is the stigmatic lip. When pollen is transferred to this - the iris can produce seed. The little petal like things above that are the style arms. Seeds, if produced, will appear in the ovary that is located where the flower attaches to the stem.
 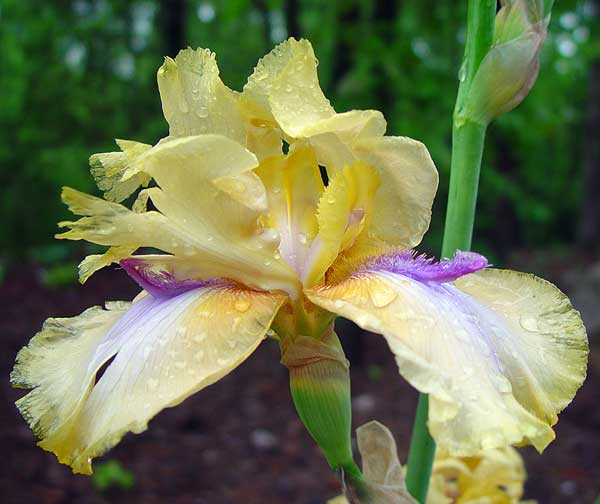 The actual beard of the iris, is the fuzzy like structure that rests over the falls. In the picture above the beard is purple. See, I can't get away form the purple! Even the yellow iris have purple on them. This flower decide to bloom during a rainy day and looks a little worse for the wear.
  Some bearded iris are very fragrant too. None of mine are. Next year I think I'll add a few Louisiana iris. They actually come from swamp lands and like lots of moisture much like Japanese iris; plus they have varieties that are true red.
  There is no way the two of us can eat that many berries before they go bad. But when you are picking them - it's addictive. So on the way home form the farm, I decided I would make jam after I got some yard work finished. I ran to Wal-mart to get all the necessary supplies. I don't do a lot of canning - in fact, I've only made jam one other time and that was it. So, I needed jars and sugar.
 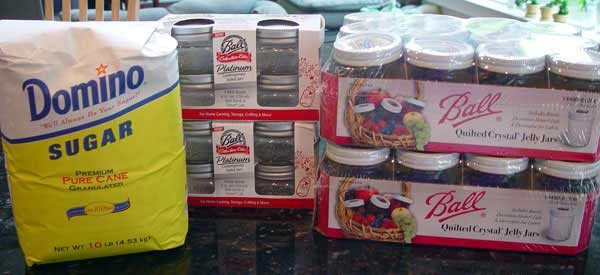 I lined up all my supplies and searched for a how-to online so I could refresh my memory. Who new there were two different methods for processing the filled jars? Not me. Apparently there is a method where you use a hot water bath to seal the jars or something called the inversion method. All there is to the inversion method is filling and capping the jar then inverting it from anywhere from a minute to an hour to get it to seal. I decided to follow the safe advice and use the water bath method even though it is more involved and took a lot longer and I followed the recipe that came with the fruit pectin.
 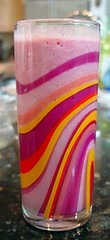 Who decides to do this type of time consuming task late on a Sunday afternoon? Well apparently I do - I am notorious for starting projects at inopportune times. But I always finish them in the end. The biggest pain was washing all the jars and lids. After everything has been washed and sanitized, you have to keep the jars and lids warm until you are ready to use them. My husband decided to steal a few of the berries and make us some yummy smoothies. So I got all that all set up and started to make the jam. It really is simple. Just a couple basic ingredients and heat, lots of heat!